Freelance Electronics Components Distributor
Closed Dec 25th-26th
800-300-1968
We Stock Hard to Find Parts

688-0100

Part # 688-0100
Description
Category MODULE
Availability In Stock
Qty 19
Qty Price
1 - 1 $251.90565
2 - 2 $200.37949
3 - 5 $188.92923
6 - 11 $175.57060
12 + $156.48684
Manufacturer Available Qty
COOK ELECTRIC CO.
  • Shipping Freelance Stock: 19
    Ships Immediately


Technical Document


DISCLAIMER: The information provided herein is solely for informational purposes. Customers must be aware of the suitability of this product for their application, and consider that variable factors such as Manufacturer, Product Category, Date Codes, Pictures and Descriptions may differ from available inventory.

www.Rose-Bopla.com
152
Tolerances
Shape
dependency
over
6
up to
10
Spatial
diagonal
area
Aluminum
Degree of
exactitude
up to
3
over
3
up to
6
Nominal dimensional area
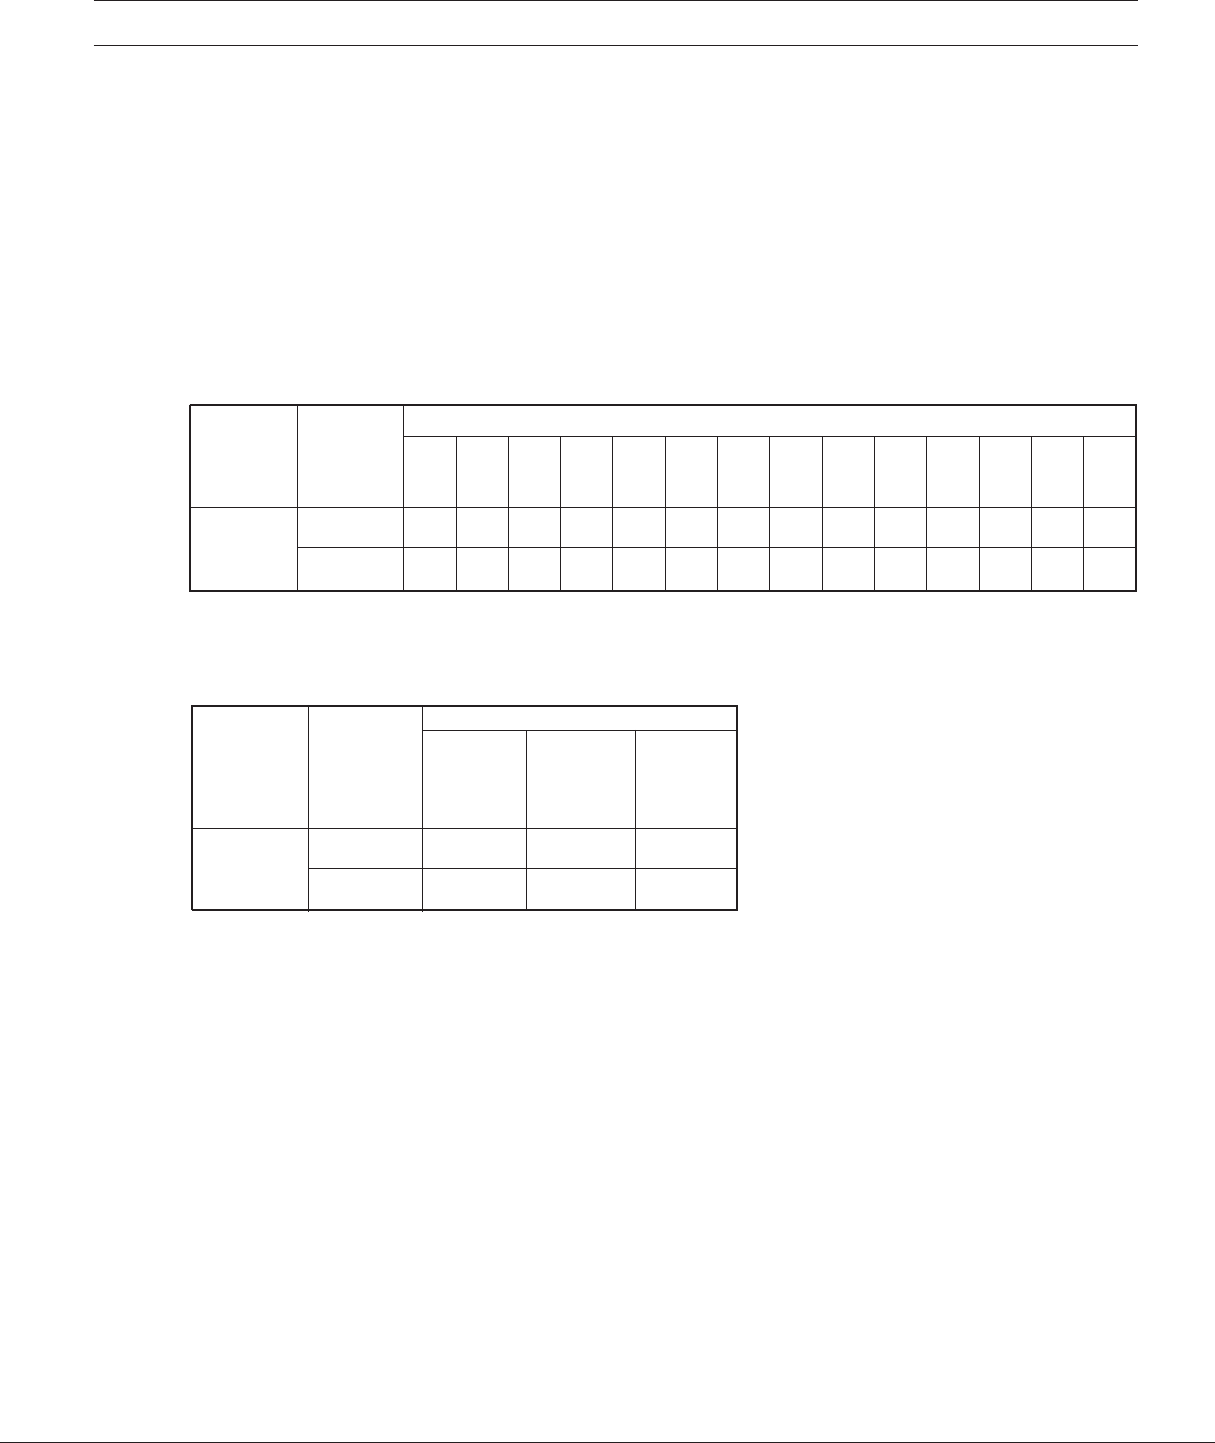
Table 2. Tolerances of dimensions for wall thicknesses, ledges and ribs.
Intrinsic
Non-Intrinsic
Intrinsic
Non-Intrinsic
Intrinsic
Non-Intrinsic
Intrinsic
Non-Intrinsic
±0.15
±0.25
±0.20
±0.35
±0.25
±0.45
±0.30
±0.55
±0.20
±0.30
±0.25
±0.40
±0.30
±0.50
±0.40
±0.65
±0.20
±0.30
±0.30
±0.45
±0.35
±0.55
±0.45
±0.70
GTA 13
GTA 13/5
GTA 14
GTA 14/5
up to 180
over 50
up to 500
over 180
over 500
Intrinsic dimensions are those in the same parts of the tool.
Non-intrinsic dimensions are those created by the interaction of movable tool components, e.g. wall thickness and base
thickness or dimensions affected by additives or extenders.
TOLERANCES FOR
PRESSURE DIECASTINGS (DIN
1688)* CONTINUED
For Secondary Services, Product Support, or To Order, Call 1-301-696-9800
153
Tolerances
Aluminum
Nominal Dimension Area
Table 1. Deviations in lengthwise dimensions (lengths, widths, heights, central distances, diameters, roundings).
Shape
dependency
Intrinsic
Non-Intrinsic
Degree of
accuracy
GTA 15/5
TOLERANCES FOR CHILL
CASTINGS (DIN 1688)*
Degree of
accuracy
GTA 15/5
Shape
dependency
Intrinsic
Non-Intrinsic
up to
18
±0.45
±0.55
over
18
up to
30
±0.50
±0.65
over
30
up to
50
±0.60
±0.80
over
50
up to
80
±0.75
±0.95
over
80
up to
120
±0.85
±1.10
over
120
up to
180
±1.00
±1.30
over
180
up to
250
±1.20
±1.50
over
250
up to
315
±1.30
±1.60
over
315
up to
400
±1.40
±1.80
over
400
up to
500
±1.60
±2.00
over
500
up to
630
±1.70
±2.20
over
630
up to
800
±2.00
±2.50
over
800
up to
1000
±2.30
±2.80
over
1000
up to
1250
±2.60
±3.30
Table 2. Deviations in thickness (wall thicknesses, ledges, ribs).
up to
6
±0.60
±0.80
over
6
up to
10
±1.20
±1.50
over
10
up to
18
±1.80
±2.20
Nominal Dimension Area
Intrinsic dimensions are those in the same parts of the
tool. Non-intrinsic dimensions are those created by the
interactions of movable tool components, e.g. wall
thicknesses and base thicknesses or dimensions
affected by additives or extenders.
*Important: We assume no liability for quoted standards!
In the case of raw castings made of light metal alloys in the chill casting process, all deviations in
dimensions are essentially dependent on :
a). the dimensional accuracy of the mold, characterized by the degree of accuracy
b). the position of the mold division, cores, extenders, characterized by the subdivision into intrinsic
and non-intrinsic dimensions (see DIN 1680 part 1)
c). the nominal dimensions.
www.Rose-Bopla.com
154
Tolerances
Aluminum
The tolerances for the nominal dimensions (see table 1) depend on the following ratios:
- diameter of the minimum circumscribing circle d
u
divided by the minimum wall thickness s
min
.
- maximum wall thickness s
max
divided by the minimum wall thickness s
min.
over
-
10
15
30
45
60
90
120
150
180
240
up to
10
15
30
45
60
90
120
150
180
240
300
Range
of dimensions
up to 6 : 1 over 6 : 1
Tolerances for a
ratio of d
u
: s
min
up to 40 : 1 over 40 : 1
and a ratio of
s
max
: s
min
±0.15
±0.20
±0.25
±0.30
±0.40
±0.45
±0.60
±0.70
±0.90
±1.10
±1.40
±0.80
±1.00
±1.20
±1.50
Table 2
Tolerances for the wall thickness of full profiles
Range of dimensions
Tolerances for
wall thickness
over
-
1.5
3
6
10
15
20
30
up to
1.5
3
6
10
15
20
30
40
Table 3
Tolerances for the wall thickness of hollow profiles
over
-
1.5
2
3
6
9
12
15
up to
1.5
2
3
6
9
12
15
20
to 75
±0.20
±0.20
±0.25
±0.35
±0.50
±0.60
±0.70
-
over 75
to 130
±0.25
±0.25
±0.30
±0.40
±0.55
±0.70
±0.80
±1.00
over 130
to 250
-
±0.30
±0.35
±0.50
±0.70
±0.85
±1.00
±1.20
over 250
to 300
-
-
±0.45
±0.60
±0.80
±0.95
±1.10
±1.30
Range of
dimensions
Tolerances for the wall thicknesses
with a circumscribing circle d
u
*Important: We assume no liability for quoted standards!
TOLERANCES FOR
ALUMINUM PROFILES
ACCORDING TO
DIN EN 12020-2
*
Table 1
Tolerances for linear measurements
ABPH 800 (Full Profile)
ABP 800 (Hollow Profile)
±0.15
±0.20
±0.25
±0.30
±0.40
±0.50
±0.60
±0.70
PREVIOUS4546474849505152535455NEXT